
.svg)


.png)


How do I get the perfect core picture?
At a Glance
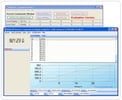
Are you extracting value from core photography?
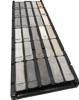
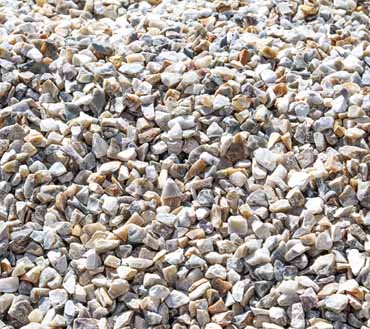
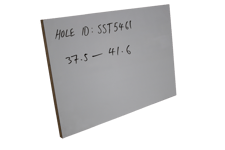
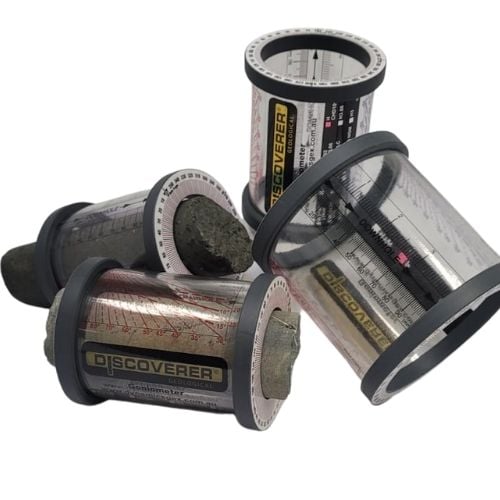
Good photographs produce an excellent record of the drill core, which is valuable for cross-referencing logged data.
Auto mode on a camera produces decent core tray images when the surrounding light conditions can’t be controlled.
However, high clarity core imagery is actually very easy to capture by stepping outside of Auto with a controlled lighting set up.
This article goes over the basic manual camera settings to control exposure in order to capture better images for drill core photography.
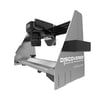
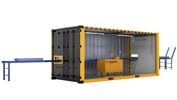
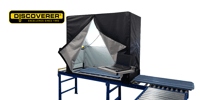
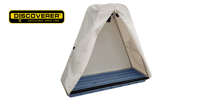
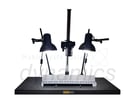
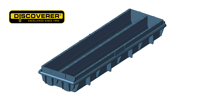
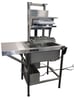
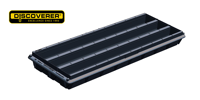
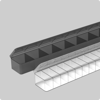
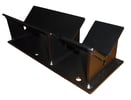
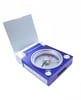
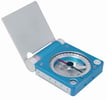
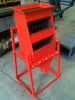
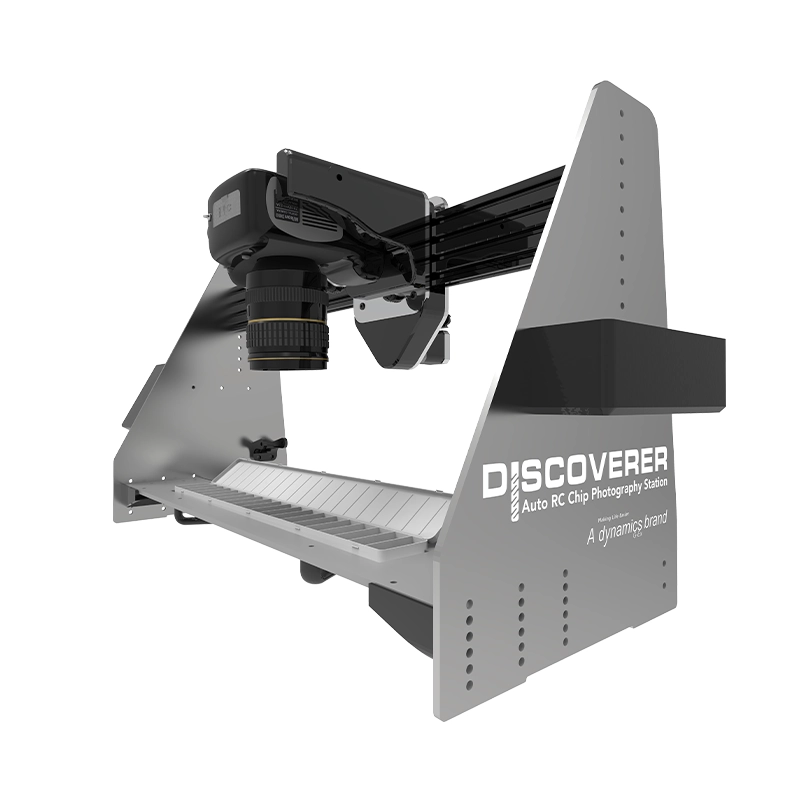
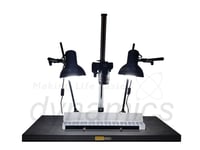
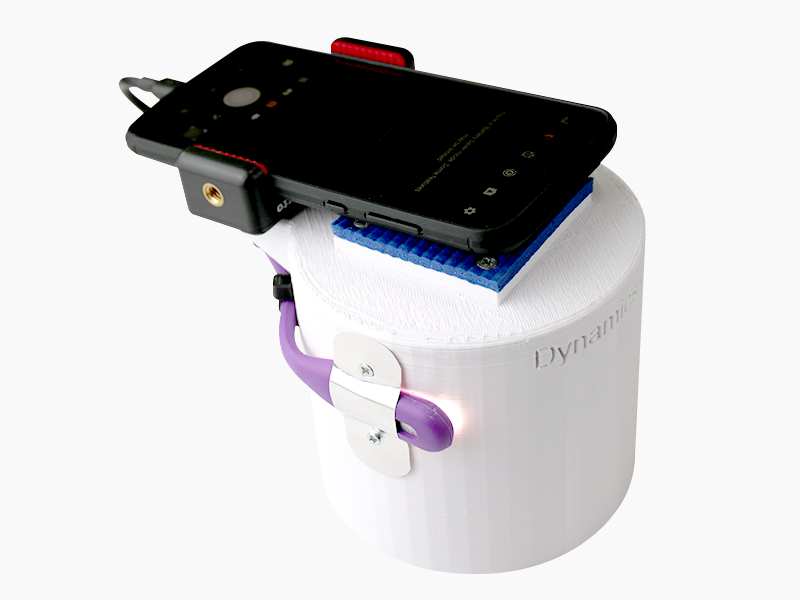
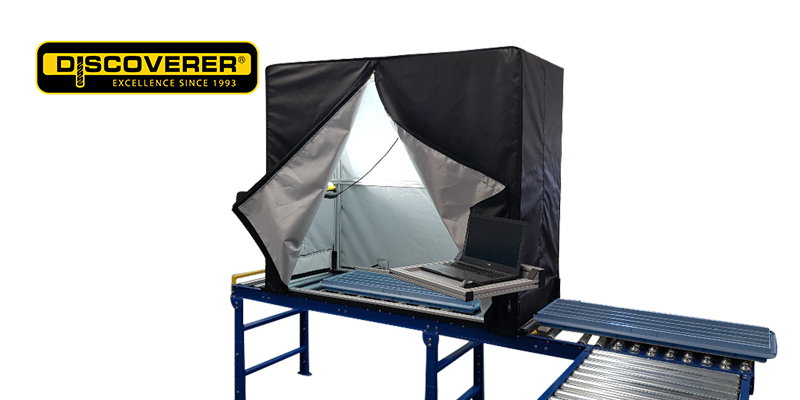
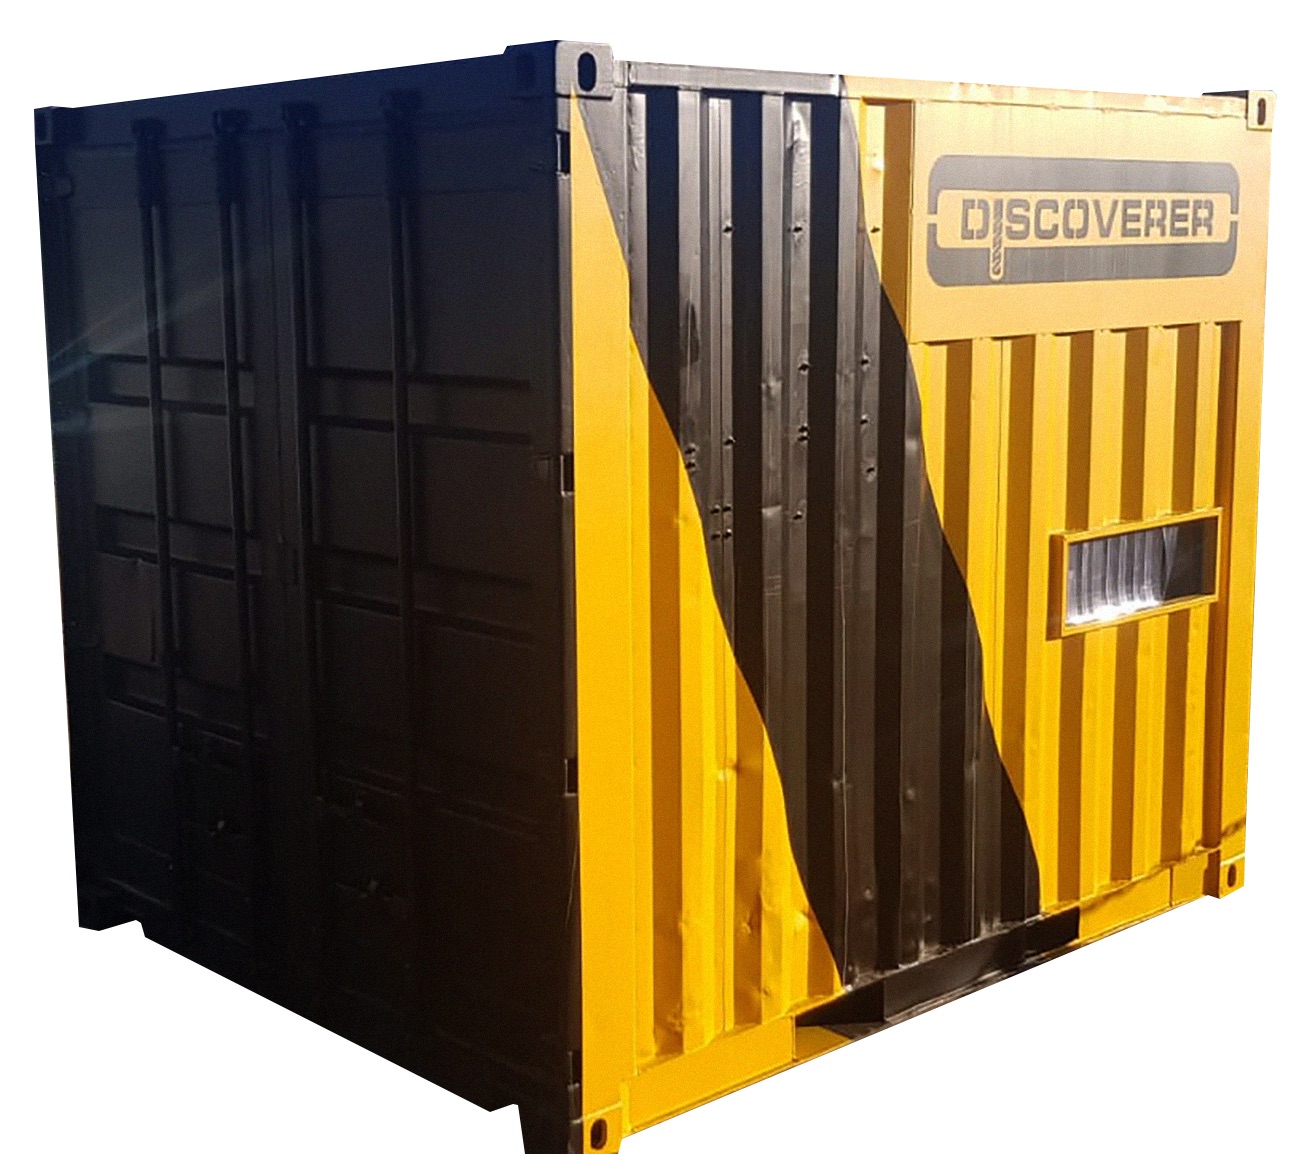
Note: These settings are applicable to an Entry Level Canon EOS Digital SLR Camera fitted with a 18-55mm lens, and used in conjunction with a Discoverer® Portable Camera Photography Frame.
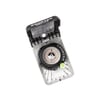
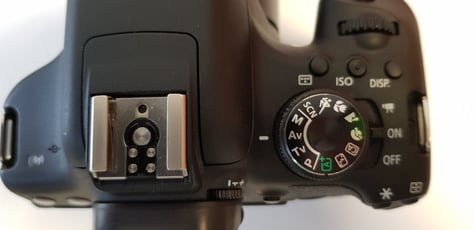
Step 1 – Aperture Priority Exposure Mode
Set Top Settings Dial to AV Mode
Step 2 – Zoom lens set to 18mm
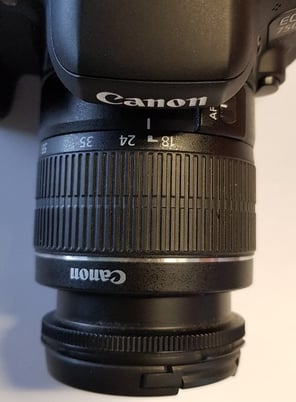
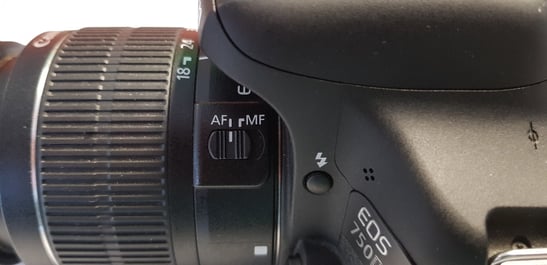
Step 3 – Ensure your lens is set to ‘AF’ or Auto Focus
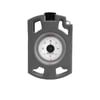
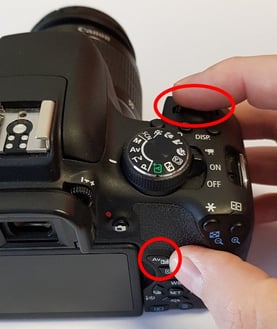
Step 4 – Exposure Compensation set to +2EV.
Hold AV bottom and turn the wheel.
Exposure is the amount of light a digital camera's sensor captures when a photo is taken. Too much light results in a washed out photo. Too little light and the photo will be too dark.
Note: These settings are optimal for a dark coloured rock. If the core sample is dry or light coloured our recommendation would be to reduce the exposure compensation to +1EV… but experiment a bit.
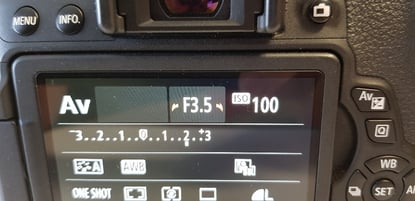
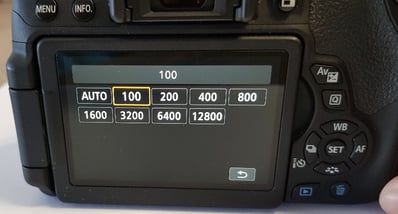
Step 5 – ISO set to 100
Press ISO Button and select 100.
ISO controls the sensitivity of the camera’s light sensor. High ISO will cause graininess so as a rule use the lowest ISO possible.
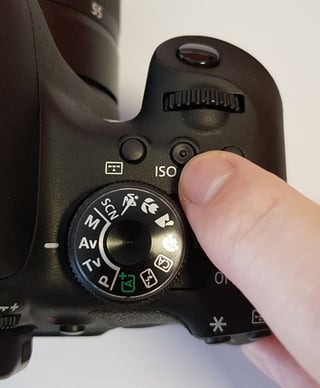
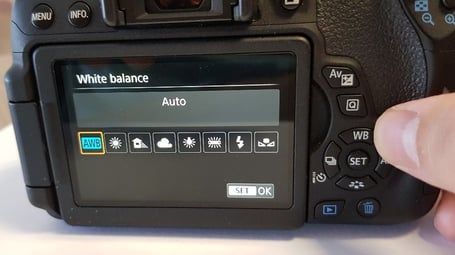
Step 6 – White Balance set to Auto
Press WB Button, select AWB Setting.
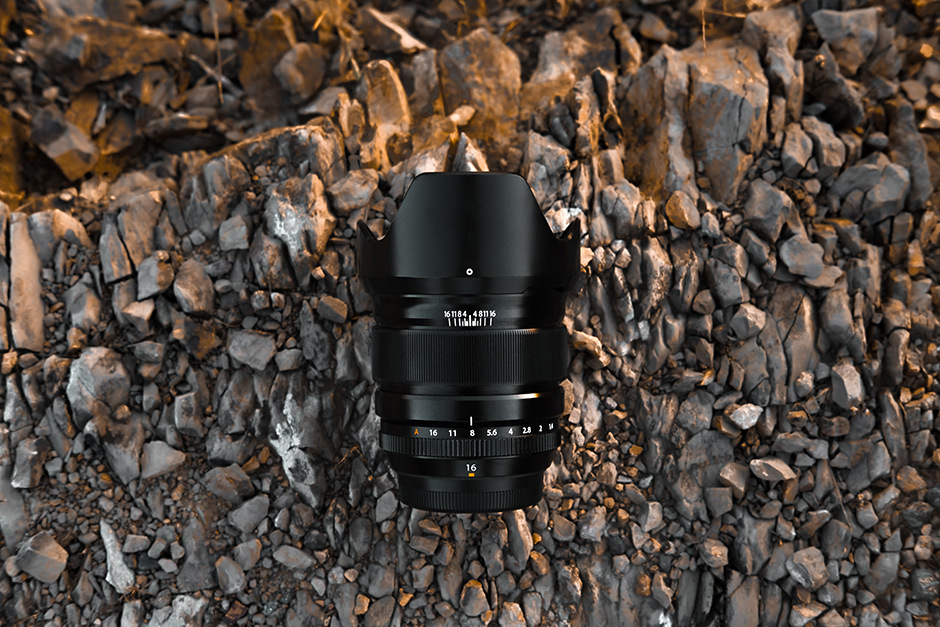
Step 7 – Aperture setting set to F3.5
Spin the wheel, and on the screen you should see ‘F3.5’. Camera has to be set to 18mm Zoom first!

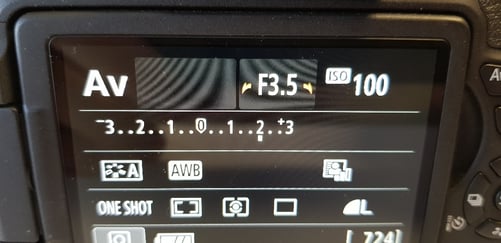
Now before you think, hang on, I'd recommend a higher aperture number than that, let's talk this through.
Some people will prefer somewhere between F4 to F10, and that can be fine.
We'd recommend, based on the environment you are shooting in, to play with this setting, until the lighting looks good as well as the focus on the rock.
To get a really good understanding, watch this video.
Establishing strong drill core photography procedures will ensure that your photographs faithfully depict color and texture for any subsequent image analysis, regardless of time of day you take photographs.
We trust this guide has been helpful.
Obviously for different models of camera these settings may be in different spots on the camera, but this, in principle, should work for any camera you have.
Feel free to print this guide, laminate it, and put it somewhere visible in your workspace for every new employee to follow to get the best results and extract the most meaningful data from your images.
If you are interested to learn how to best capture the best core tray photographs with absolute consistency every time, within your budget, feel free to read this article: 3 Best Ways of Photographing Your Core Within Small, Medium & Big Budgets.
One of the market leaders in core imagery software today is Imago, helping you capture and automatically catalog your images, and then connect and learn from them with your entire team using cloud and machine learning intelligence.
We recommend taking a look at these guys and signing up for a free 30-day trial!
TIP: If using a Canon Camera, we recommend downloading Camera Canon Connect App which will allow you to take and view images straight from your phone, tablet or laptop using the camera’s Wi-Fi capabilities.
No need to remove the camera from your photography stand, so it helps speed up the process.
Spencer Dormer
My goal is to empower Geologists & Field Techs to make more informed decisions through providing unbiased and insightful thought leadership for the industry worldwide.